Blog Archive
A New Leaf: Getting in Touch with a Fall Tradition
I’ve always preferred the fall holidays. Because I was raised “casually” Jewish, fall holidays meant that in addition to soccer parties, Halloween, my birthday, and Thanksgiving, my back-to-school blues were always somewhat sweetened by the punctuation of Rosh Hashanah, Yom Kippur, and Sukkot. I always thought I would be overjoyed to have outgrown the school semester, but without the landmarks of new marble composition books and brand new Bics I find I get a little lost. This year I decided to start my own fall tradition by baking a round Rosh Hashanah challah from Joan Nathan’s seminal recipe – who else!?
I happily watched Joan in her well-appointed kitchen mix the familiar ingredients and use her handy Kitchen Aid mixer. In my tiny East Village apartment I made do with arm power and some encouragement from friends and family phoned along the way.
Joan Nathan’s Chosen Challah
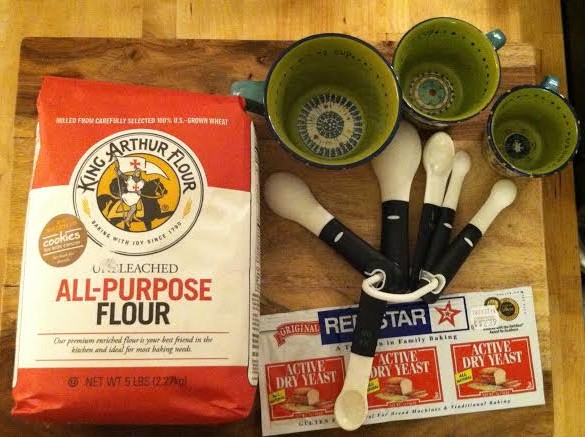
1 3/4 cups of water
1 1/2 tablespoons active dry yeast
1/2 cup sugar
1/2 cup vegetable or canola oil
3 large eggs
1 tablespoon salt
8 cups all-purpose flour
Poppy or sesame seeds for sprinkling
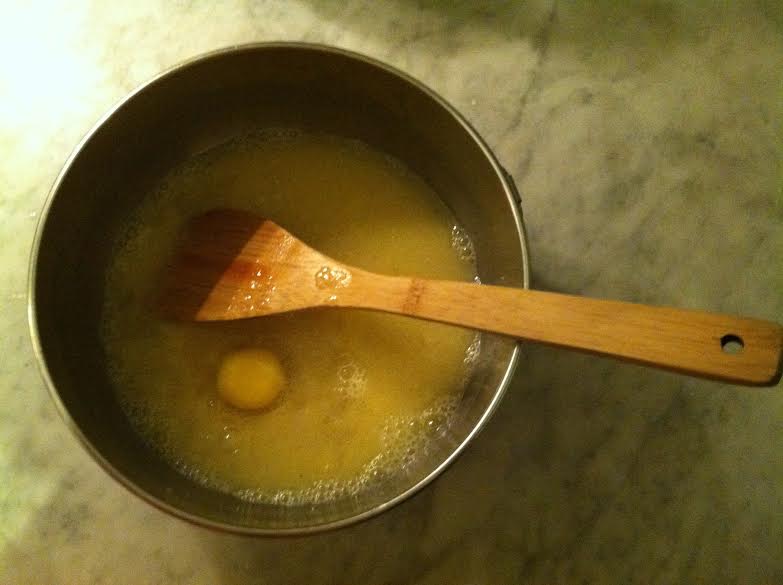
1. Put water, yeast, and sugar in the bowl of a standing mixer and blend, using a paddle.
…Or using a stout wooden spoon and some woman-power. My “full-time assistant”, my boyfriend, suggested that I “think of Seamus.” He is referring to Heaney’s poem “Churning day” which documents the process of hand-churning butter in Heaney’s Northern Irish Childhood. I tell my “full-time assistant” this is more of an opportunity to think of Fannie and the shtetl….
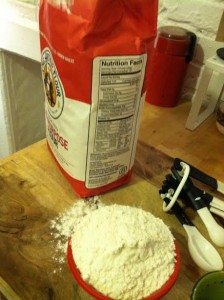
2. Add oil, then add 2 of the eggs, one at a time, using the paddle to mix. Then switch to the dough hook and gradually add the flour and salt, then knead with the dough hook. Roll dough onto floured board and knead by hand.
…At 7 cups of flour I could barely imagine coaxing the dough to take anymore. I made a quick phone call the the expert – Mom.
She gives me great maternal advice for any situation “use your best judgement” but reassures me that I live in New York after all, and I can always find a bakery early in the morning if this doesn’t pan out….
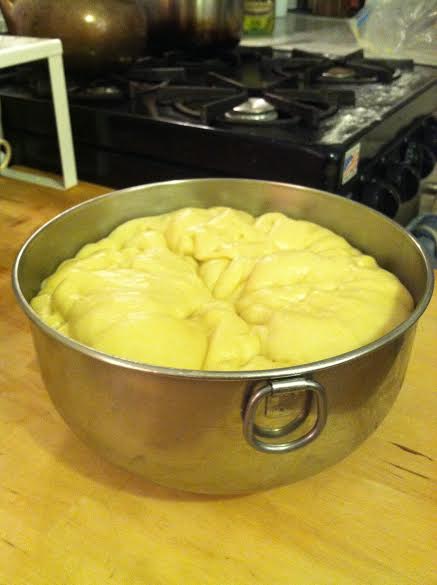
3. Grease a bowl with nonstick spray, put the dough in the bowl and cover with greased plastic wrap and let the dough rise in a warm place for 1 hour.
… I watch the bowl anxiously for what feels like each minute of this hour-long wait until my “full-time assistant” getting into the spirit of the exercise suggests I stop worrying and eat something….
4. After an hour, when the dough has almost doubled in volume, punch it down, cover, and let it rise again in a warm place for another half-hour.
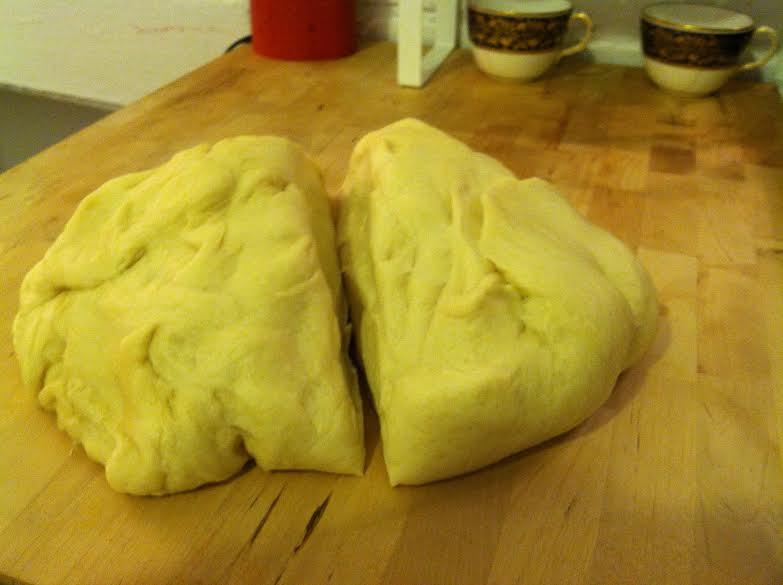
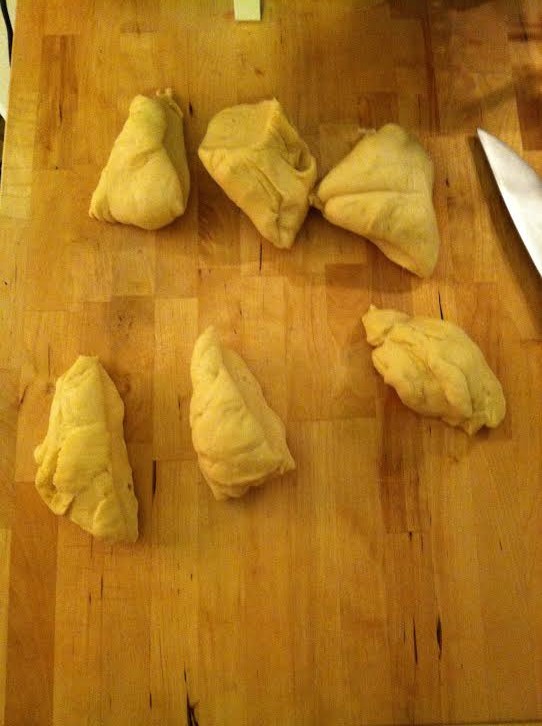
5. To make a six-braided challah, take half the dough and form it into 6 balls.
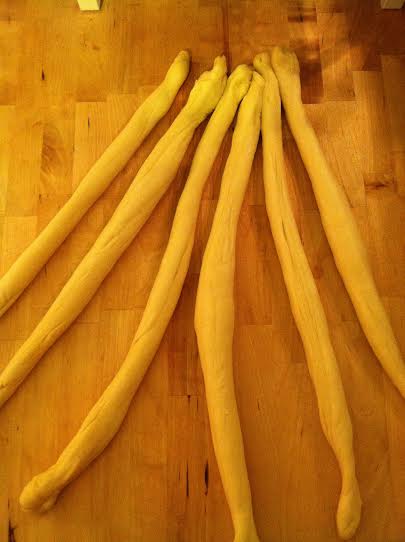
With your hands, roll each ball into a strand tapered at the ends, about 12 inches long and 1 1/2 inches wide.
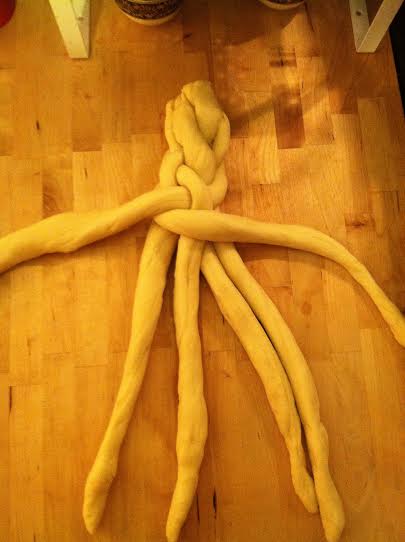
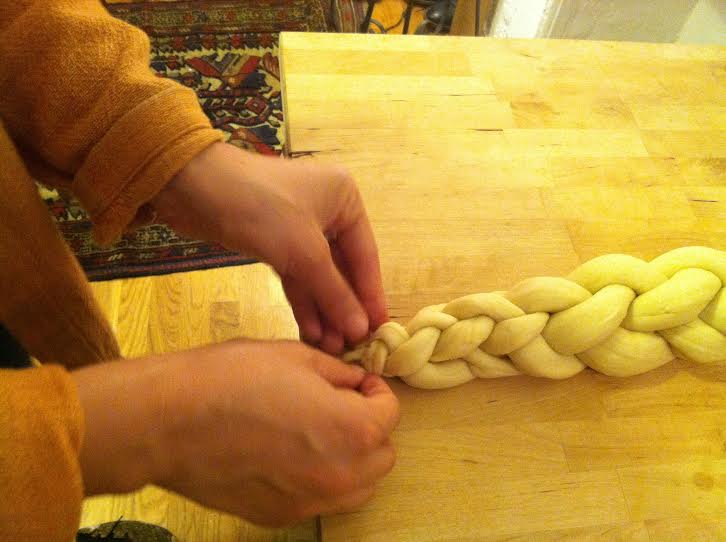
Pinch the strands together at one end, then gently spread them apart. Next, move the outside right strand over 2 strands.
Then, take the second strand from the left and move it to the far right. Regroup to 3 on each side. Take the outside left strand and move it over 2 to the middle, then move the second strand from the right over to the far left.
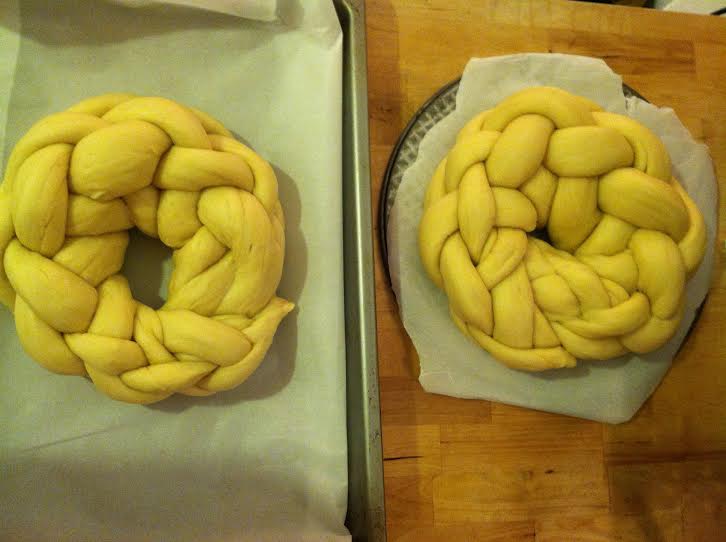
Regroup and start over with the outside right strand. Continue until all the strands are braided, tucking the ends underneath the loaf. The key is always to have 3 strands on each side, so you can keep your braid balanced. Make a second loaf the same way. When you are finished you can either keep a long braided challah or twist it into a round challah for Rosh Hashanah.
… I get lost during the braiding twice, once irrevocably and unwind my entire braid to begin again muttering to myself the whole time…
6. Place the braided loaves on parchment paper on cookie sheets.
7. Beat the remaining egg and brush it on the loaves, then sprinkle with seeds—or put the seeds in a small bowl, brush the loaves with egg again, then, dipping your fingers first in the egg, then the seeds, gently touch the humps of the braids with the seeds. Repeat until your challah is well decorated. Let rise another half hour.
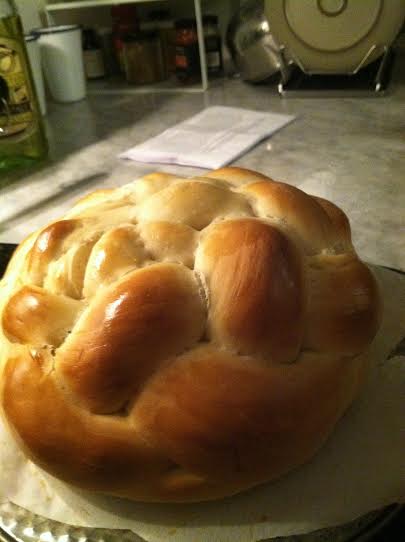
8. Preheat the oven to 350 degrees and bake for 30 minutes or until golden. When the bread sounds hollow when tapped with a cake spatula, the challahs are done. Cool the loaves on a rack.
Yield: 2 challahs
…and a lot of pride.
L’shannah tovah Happy New Year and happy fall!
–Posted by Julia Berick, Marketing and Communications Coordinator
